Planning for solar panels? A solar ready roof is key to maximizing performance, longevity, and cost savings in the long run. Whether you’re retrofitting an older home or installing panels on new construction, proper roof prep solar install ensures a smooth process, less rework, and better return on investment.
In this in‑depth guide, we’ll cover practical checks, preparation steps, and material recommendations to help Utah homeowners identify the best roof for solar. From structural assessments to preventative waterproofing, you’ll learn how to align your roof’s lifecycle with solar panel goals—and prevent unnecessary expenses.
1. Why Build a Solar Ready Roof?
A roof prepared for solar enhances energy production, minimizes surprises, and extends system lifespan:
- Prevent premature removal—avoid raising rails or panels due to shingle replacement.
- Enhance waterproofing—proper flashing and sealing reduce leaks around mounts.
- Optimize tilt and sun exposure—position panels for Utah’s sun angle.
- Safeguard roof warranty—maintain roofing product guarantees when mounting solar panels correctly.
Proper prep saves money, stress, and maintenance headaches down the line.

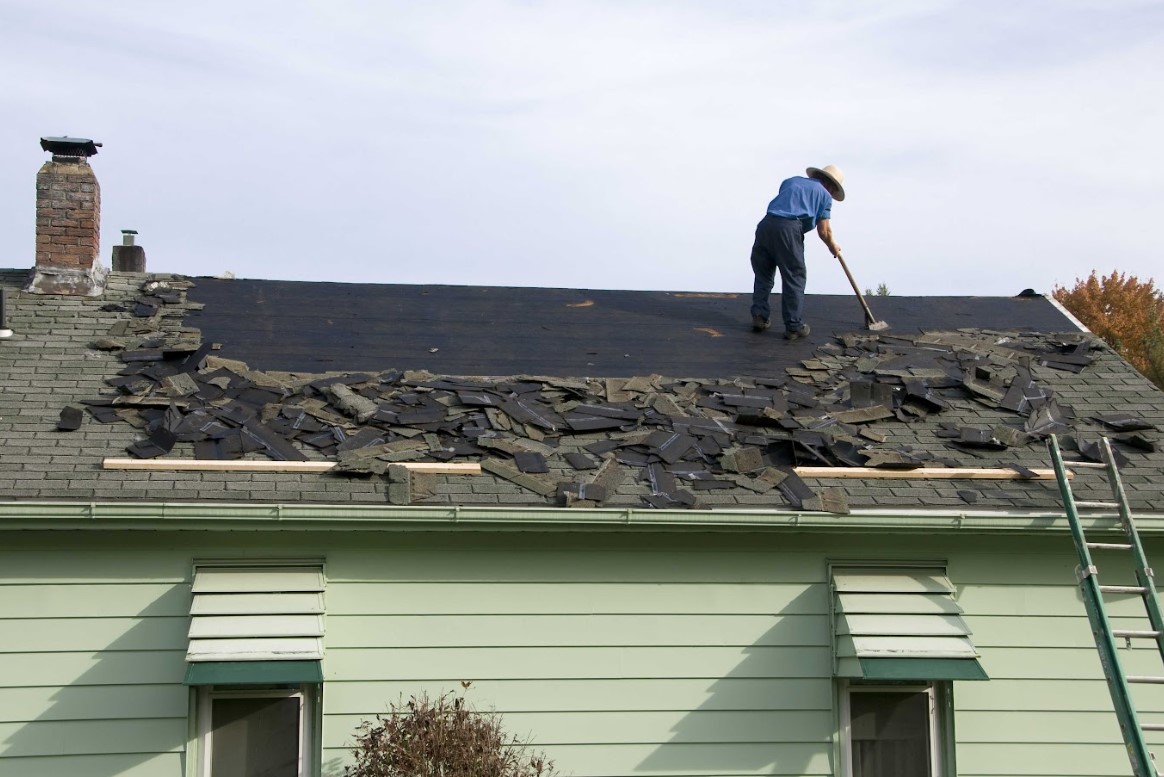
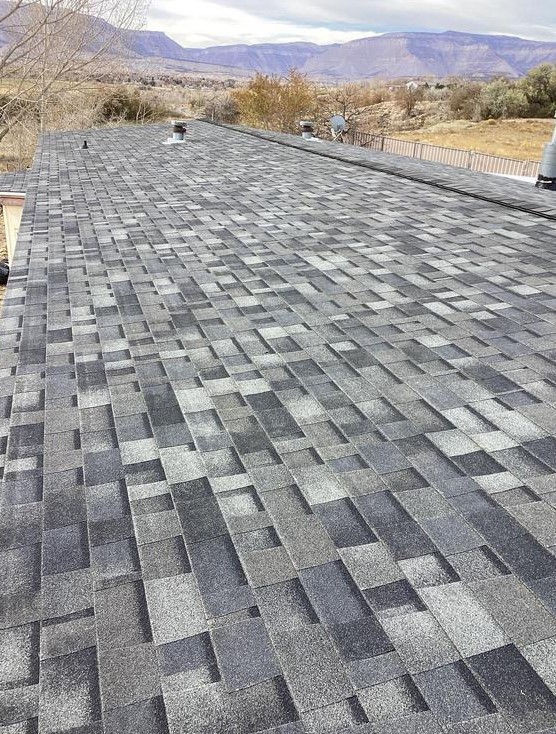
2. Is Your Roof Too Old for Solar?
Solar installers value roofs with at least 10–15 years of life remaining. Here’s what Utah homeowners should check:
Common Signs You Need Roof Prep Solar Install Work:
- Curling or missing shingles
- Granule loss in gutters
- Soft spots or sagging
- Previous extensive patching
- End-of-life asphalt or wood shake
If your roof shows signs of aging, consider replacement before solar—saving on future labor and avoiding panel removal later.
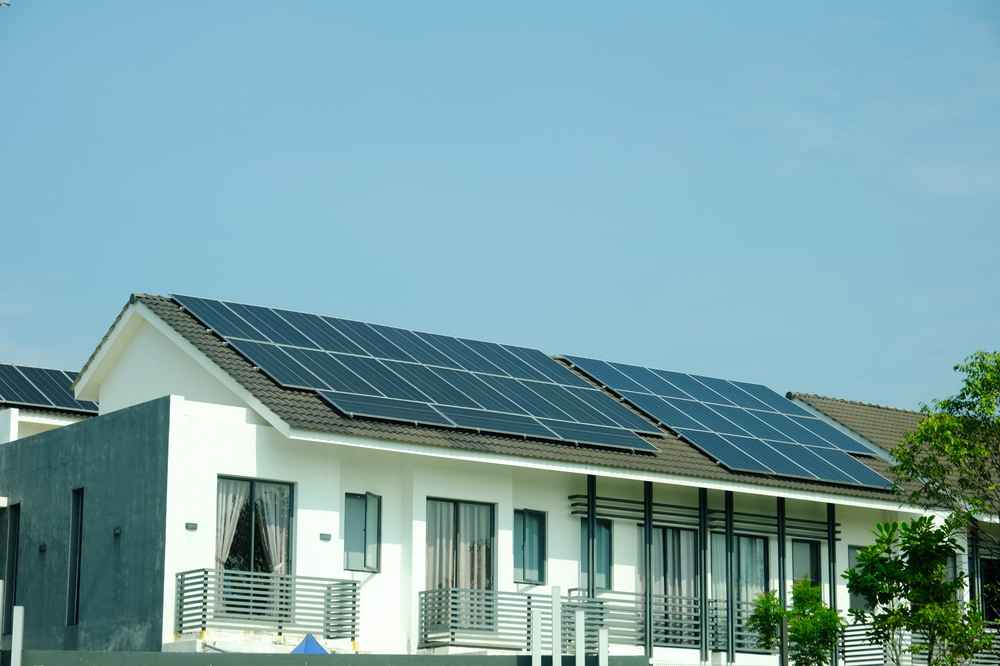
3. Choosing the Best Roof for Solar
The ideal solar-ready roof combines durability, compatibility, and ease of installation.
Roof Material Comparison (“Best Roof for Solar”):
| Material | Advantages for Solar | Considerations |
| Architectural Asphalt | Durable, common mounts, cost-effective | Moderate lifespan (20–30 years) |
| Metal (standing seam) | Long-lasting, easy to mount via seams | Higher upfront cost |
| Tile (clay/concrete) | Durable with rail attachments | Fragile; requires specialty installers |
| Wood shake/shingle | Traditional look, solar compatibility | Prone to wear; easier to damage during install |
| Zinc/Slate | Ultra-durable and aesthetically pleasing | High cost; specialized installation |
For most Utah homes, architectural asphalt or standing seam metal offers optimal balance of cost, performance, and solar compatibility.
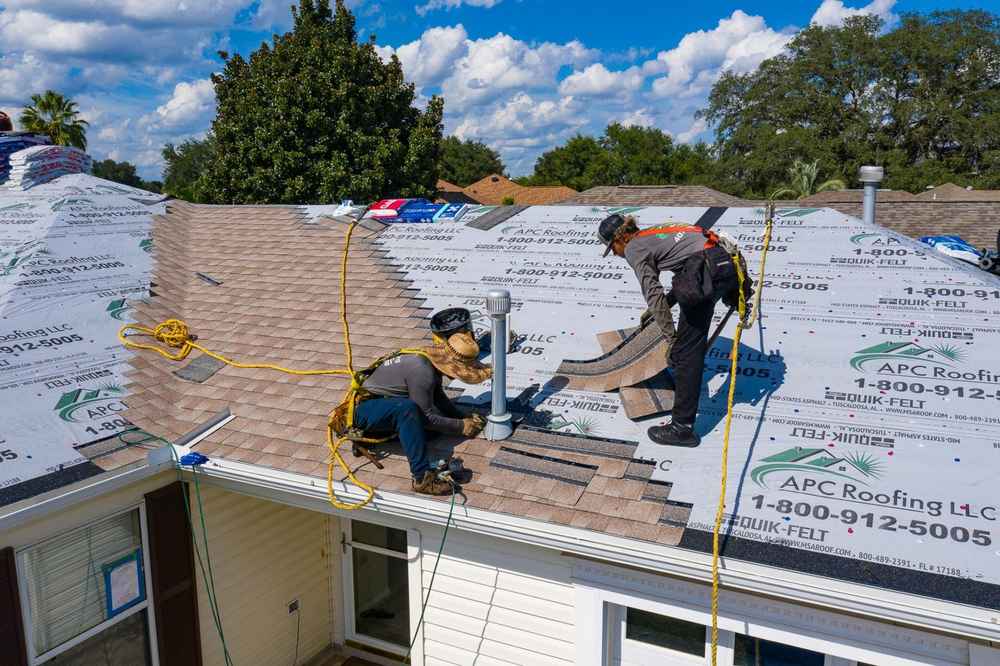
4. Roof Prep Solar Install Checklist
Before panels arrive, complete these critical tasks to ensure readiness and reduce future risks:
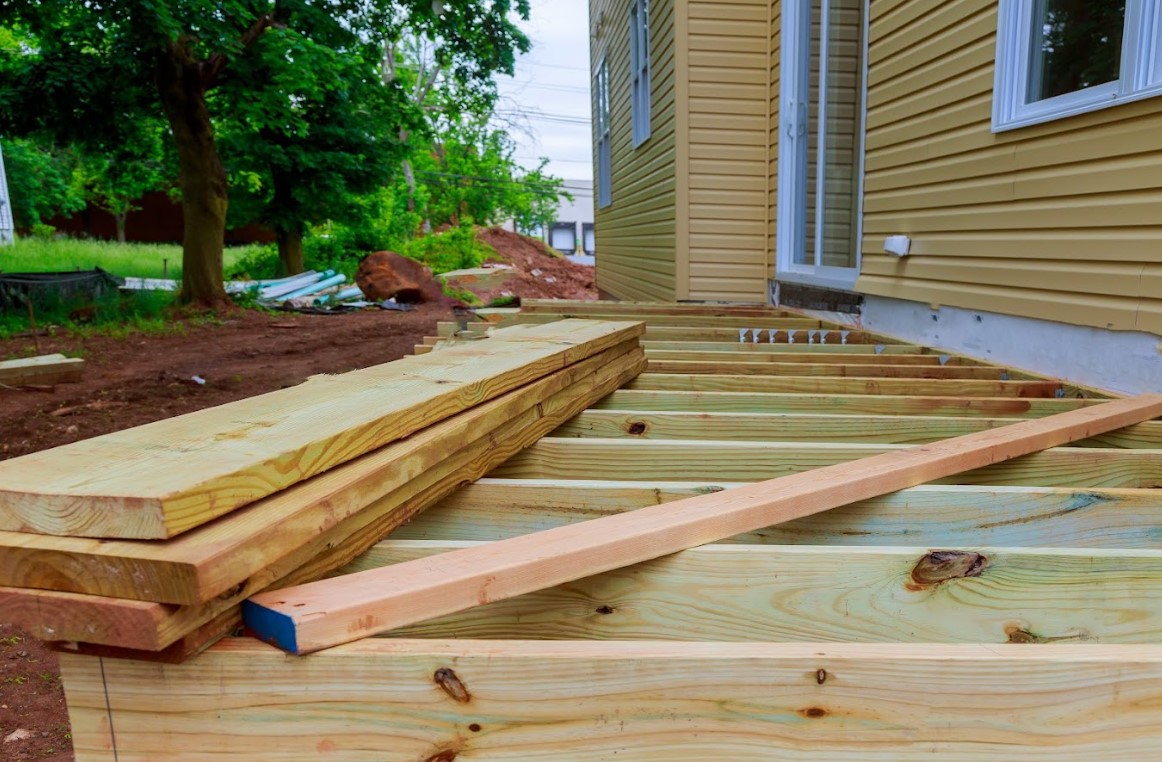
A. Structural Assessment
- Confirm roof deck strength for solar load.
- Professionals may evaluate rafters and framing.
B. Address Aging Issues
- Replace damaged shingles, rot, or flashing.
- Upgrade to long-lasting underlayment and drip edges.
C. Check Attic Ventilation
- Ensure proper intake and exhaust to prevent heat, moisture, and ice issues.
D. Install Flash-Friendly Membranes
- Choose tear-resistant and waterproof underlayment for mount zones.
E. Size and Slope Adjustments
- Optimize slope orientation and panel row spacing for Utah sunlight angles.
5. Mounting and Flashing Best Practices
Proper mounting ensures roof integrity and long-term reliability. Types include:
For Asphalt and Wood Shingle Roofs:
- Use lag bolts with EPDM-flanged flashing.
- Ensure walls beneath to support structural loads.
On Standing Seam Metal Roofs:
- Use seam clamps—no penetration needed.
- Maintain manufacturer’s warranty through approved hardware.
For Tile Roof Installations:
- Sands mounts, sealing rings, and licensed installation—mounting tile is delicate.
Consistent use of high-quality flashing prevents water intrusion around every solar attachment point.
6. Safety, Sealing & Energy Efficiency
A solar-ready roof must resist rust, seal aggressively, and manage heat:
- Apply rubber washers and sealant on fasteners.
- Use roof jacks or scaffolding for safe installation.
- Add heat block pads below solar arrays to reduce load on shingles.
7. Integrating Solar with Gutters & Ventilation
- Ensure panels and rails don’t restrict rainwater flow—gutters must remain clear.
- Preserve soffit/roof vent pathways for attic airflow.
- Post-install, inspect flashing, seal integrity, and attachments each year.
8. Financing & Permitting Benefits
Solar panels combined with a prepared roof increase home value, savings, and qualify for incentives:
- Federal ITC, Utah state, and local tax credits apply to both roofing and solar.
- Well-prepared roofs smooth inspection process and reduce permitting delays.
9. Real-World Savings: Why Prep Pays Off
- Avoid multiple labor costs by preemptively addressing roof issues.
- Prevent production loss due to future panel removal.
- Ensure system efficiency with optimized tilt, orientation, and airflow.
- Maintain roof warranty and avoid insurance complications.
Proper solar readiness pays back quickly over the system’s lifespan.
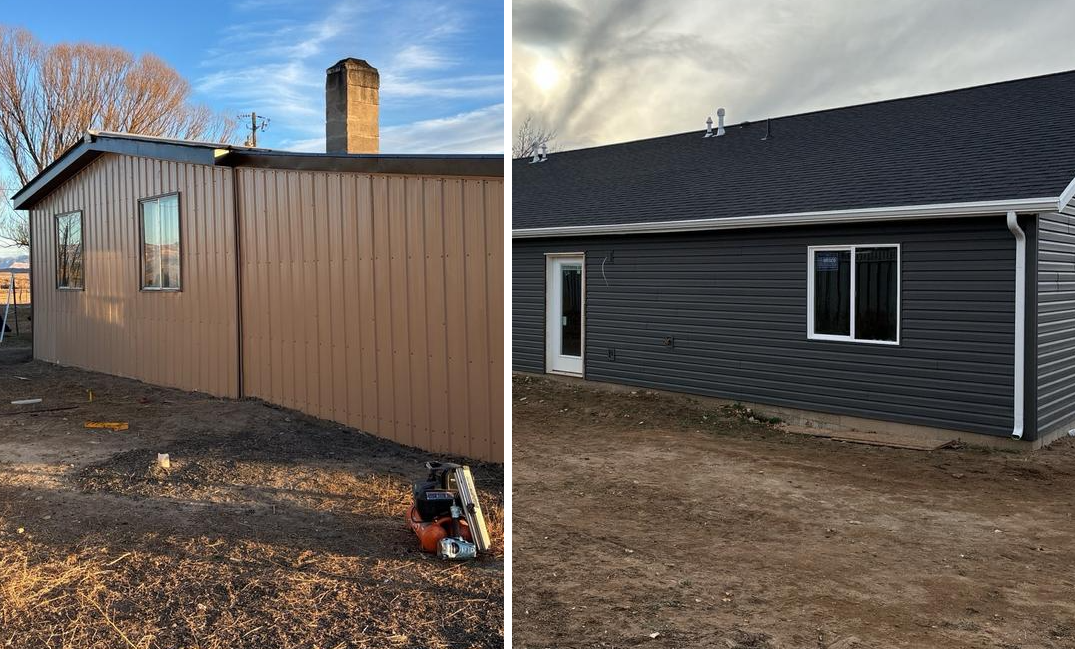
10. What Makes Clean Cut Roofing & Siding the Right Choice?
Our Utah-based team brings roofing and solar prep expertise under one roof:
- Comprehensive assessment: we measure shingle life, structure, ventilation.
- High-quality materials: underlayments, flashing, sealants selected for solar durability.
- Collaborative planning: we work closely with your solar contractor for logistics.
- Expert installation: clean, by-code, and inspection-ready work.
- Future-focused service: we prepare for solar, not just the roofing job.
Solar-Ready Roofing Glossary & Quick Tips
- Solar ready roof: one that’s structurally, functionally, and visually prepared for solar.
- Roof prep solar install: pre-install improvements on lifespan, performance, and mount readiness.
- Best roof for solar: combines longevity, anchoring, weatherproofing, and cost effectiveness.
Quick Tips:
- Ideal window: get solar planned with roof replacement for smooth integration.
- Orient panels toward true south; note local shading and seasonal effects.
- Use tile guards or heat shields to protect shingles under arrays.
Seeing Long-Term Value in Solar Roofing Synergy
Pairing a properly prepped roof with solar panels multiplies your home’s longevity, efficiency, and value. It’s not just about reducing energy bills—it’s about creating a home that remains reliable for years to come without hidden maintenance costs.
Clean Cut Roofing & Siding delivers the roofing expertise your solar project deserves—so your Utah roof can fully support today’s solar solutions.
Ready to Prepare Your Roof for Solar?
If you’re planning solar panels, don’t let your roof hold you back. Proper solar ready roof design, roof prep solar install, and material choices are essential to long-term success.
Get a free estimate now and let us help you set the foundation for a powerful solar investment. We’ll guide you through roofing prep, material recommendations, and installation—so your home is ready when your solar technician arrives.